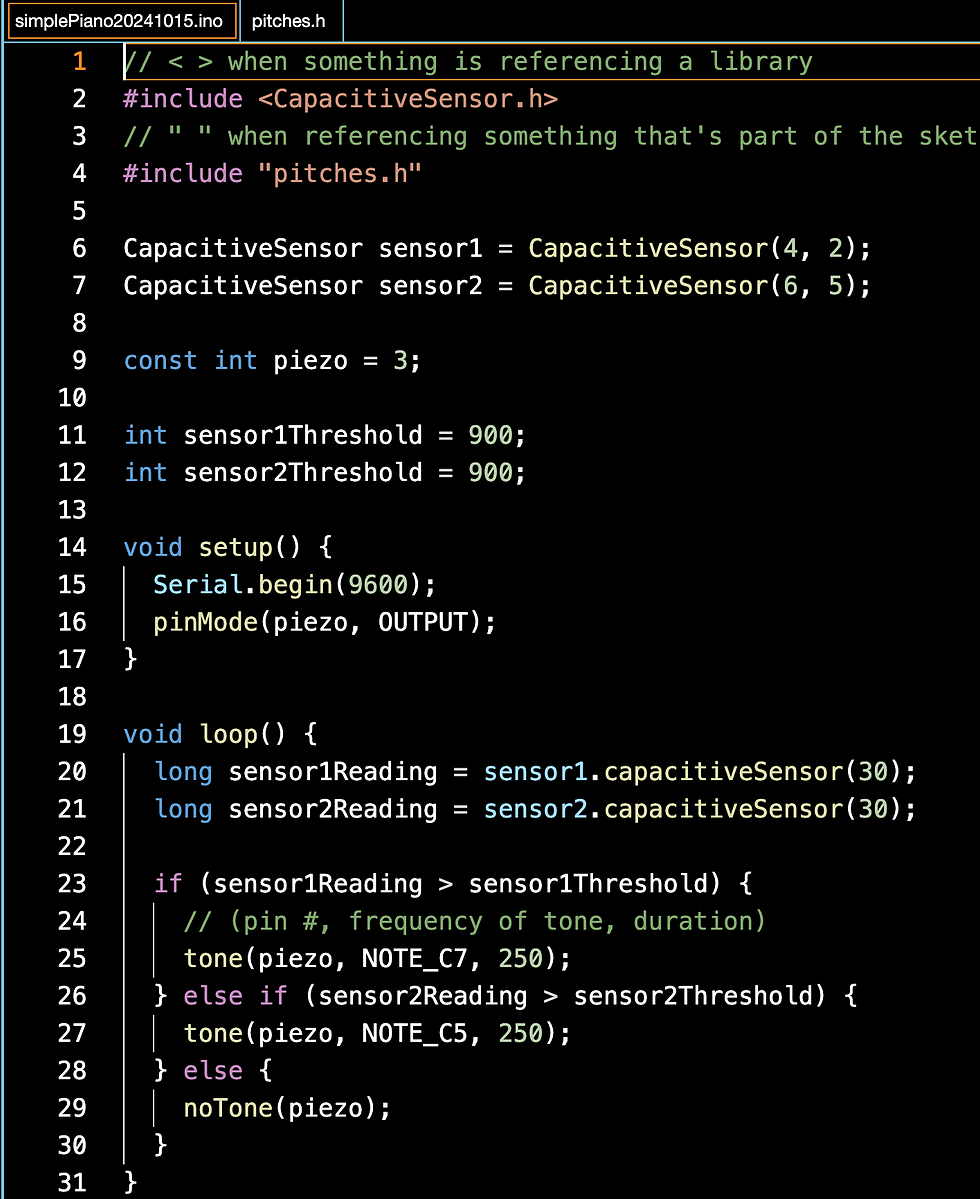
Workshop 2 was the very next day from the Launch and Workshop 1. I am going to be totally honest and say I could have used a day in between or spread out the workshops over a few days, but I also understand and respect that its all scheduling based and we do the best with the time we have! For someone like me that, I was going to write "may require," will most definitely need more help, the Tutorial and Support sessions are going to be my saving grace, as they were with the last project. The thing I noticed about this module is that I wasn't able to take as many notes as I usually do. I think this is in part to actually physically making something, as well as already having the basics from Processing. I did take some that I found helpful in my own learning process so I will include those below as well as the sketch, setup, and video of the individual steps. The photos and videos, besides feeling a sense of achievement looking back on them, are a great way to document each step, as opposed to writing it all down.
I think I'm enjoying this module, not necessarily more than Creative Coding because they are related, but in a different way. I work with my hands, in many ways. My dad has been sure to teach me things like replacing spark plugs and headlights, changing the oil and fluids, and general maintenance on my motorcycle, so building a wired system with the Arduino was actually right up my alley and I feel that I picked up the physical part of setup relatively quickly, its still the coding aspect that is making me feel slightly lacking. Again, as I said in my Creative Coding journals, I need to remember we have only been doing this stuff for a few weeks. I knew I wasn't going to be some phenom or savant, so I need to be more patient and understand that this is not going to be learned in a matter of a few days. People take years to perfect their crafts, and even then, every day is a school day, as they say. If you're not learning something new all the time, even if its something as simple as placing a squiggly bracket correctly, life would get very boring.

Anyway, enough philosophical rambling, let's get into it. We jumped right in from Workshop 1 and used what we had learned to set up a simple piezo buzzer. These things, to make another Harry Potter reference, reminded me very much of the screaming mandrake plant, except we didn't have fuzzy pink earmuffs to block it out. The initial set up was simply letting the piezo run. The secondary setup where we made a basic piano was a little more intensive than that of just letting the piezo make noise on its own. We used a push button in order to control the piezo noise a bit more, which required two connections, as well as two Ohms. In my notes I wrote down some things I found helpful or interesting. The symbol "||" means "or" in a coding statement. For example: if (note >= 255 || note <= 0){. The last note I wrote was in regards to the piezo sketch's other uses in the way of lighting an LED glow at different rates. I thought it was really beneficial to be able to use the same code for multiple setups.


The next thing we did was set the piezo up to play a simple melody. We learned that an array is a list of ints, and requires square brackets []. Within the melody, there are notes which come from the pitches.h file. Each note is equivalent to that that would be used on a musical instrument. Each note has the note name (for example NOTE_F6) and the frequency (for example F6 would be 1397). In order the make the melody, each note needs to be set for a different duration. The lower the number, the longer the note. So, a half note would be a duration of 2, a quarter note would be 4, and an eighth note would be 8. We set up a sketch to run the simple melody of the Simpsons theme song. The connections were fairly simple from the breadbox to the Arduino, requiring only a few jump wires. and the piezo. The interesting thing about the piezo is that there is a positive and negative leg which the wires must be properly attached in the right way to, or else it won't work. One leg is longer than the other, almost imperceptibly so. Some other models of piezos have positive/negative indicators on them, but the one in the kit I was given does not have that. The next step was to add a push button which required adding two alligator clips and a bit of code for the push button.


This is the set up for the push button code.
Below are the videos of the constant melody as well as the melody with a push button.
Comments